

Explore the work
Photographs
Photographs
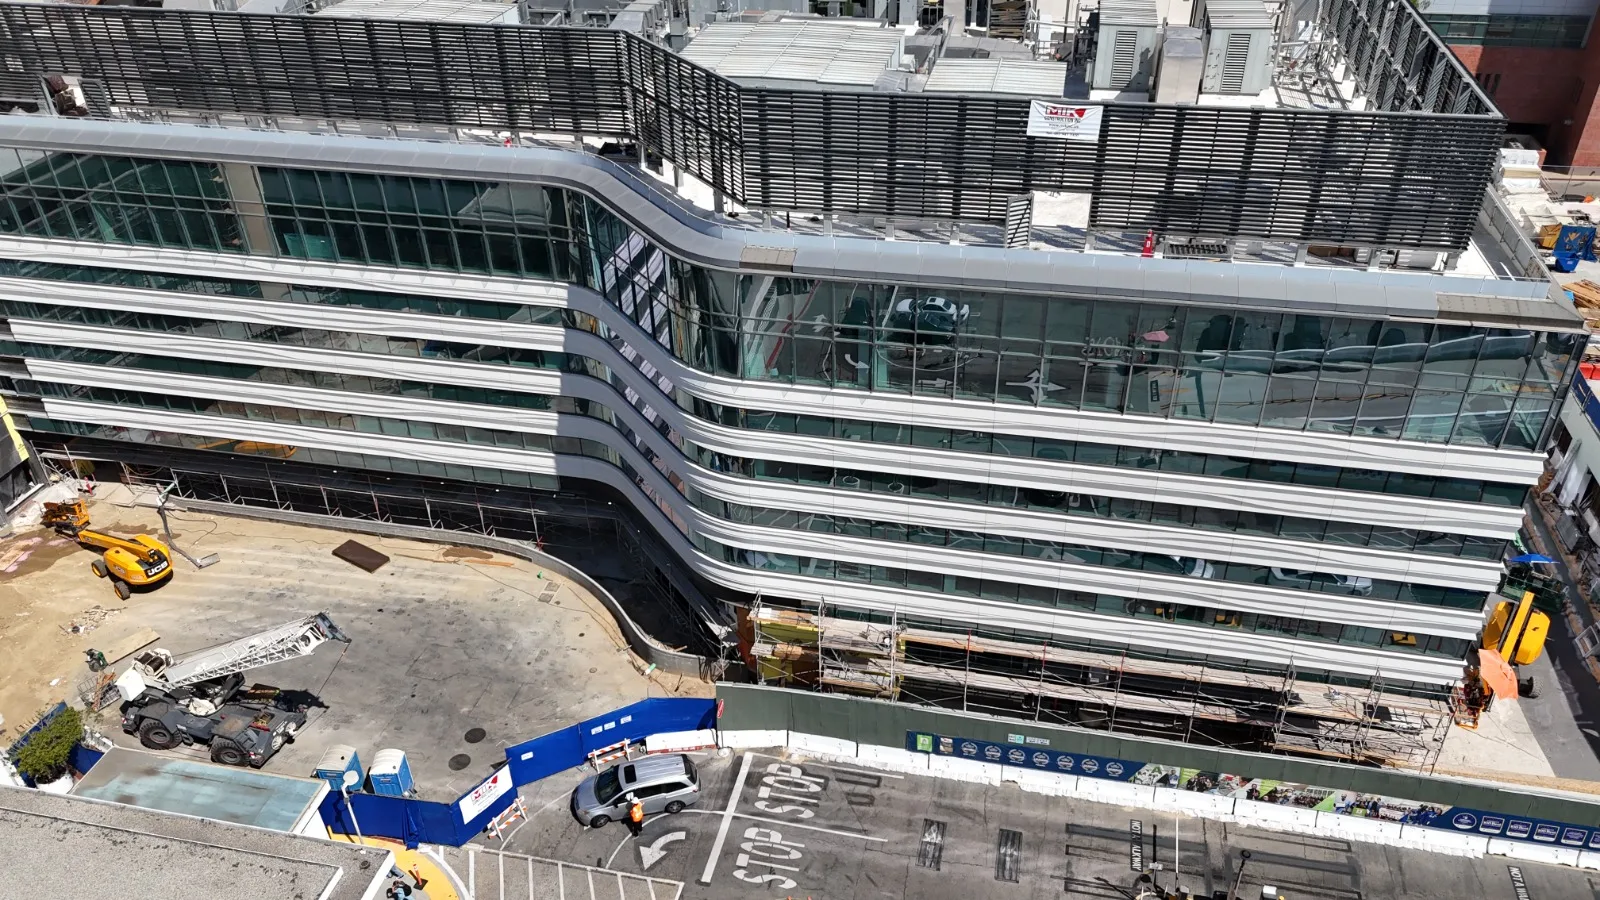
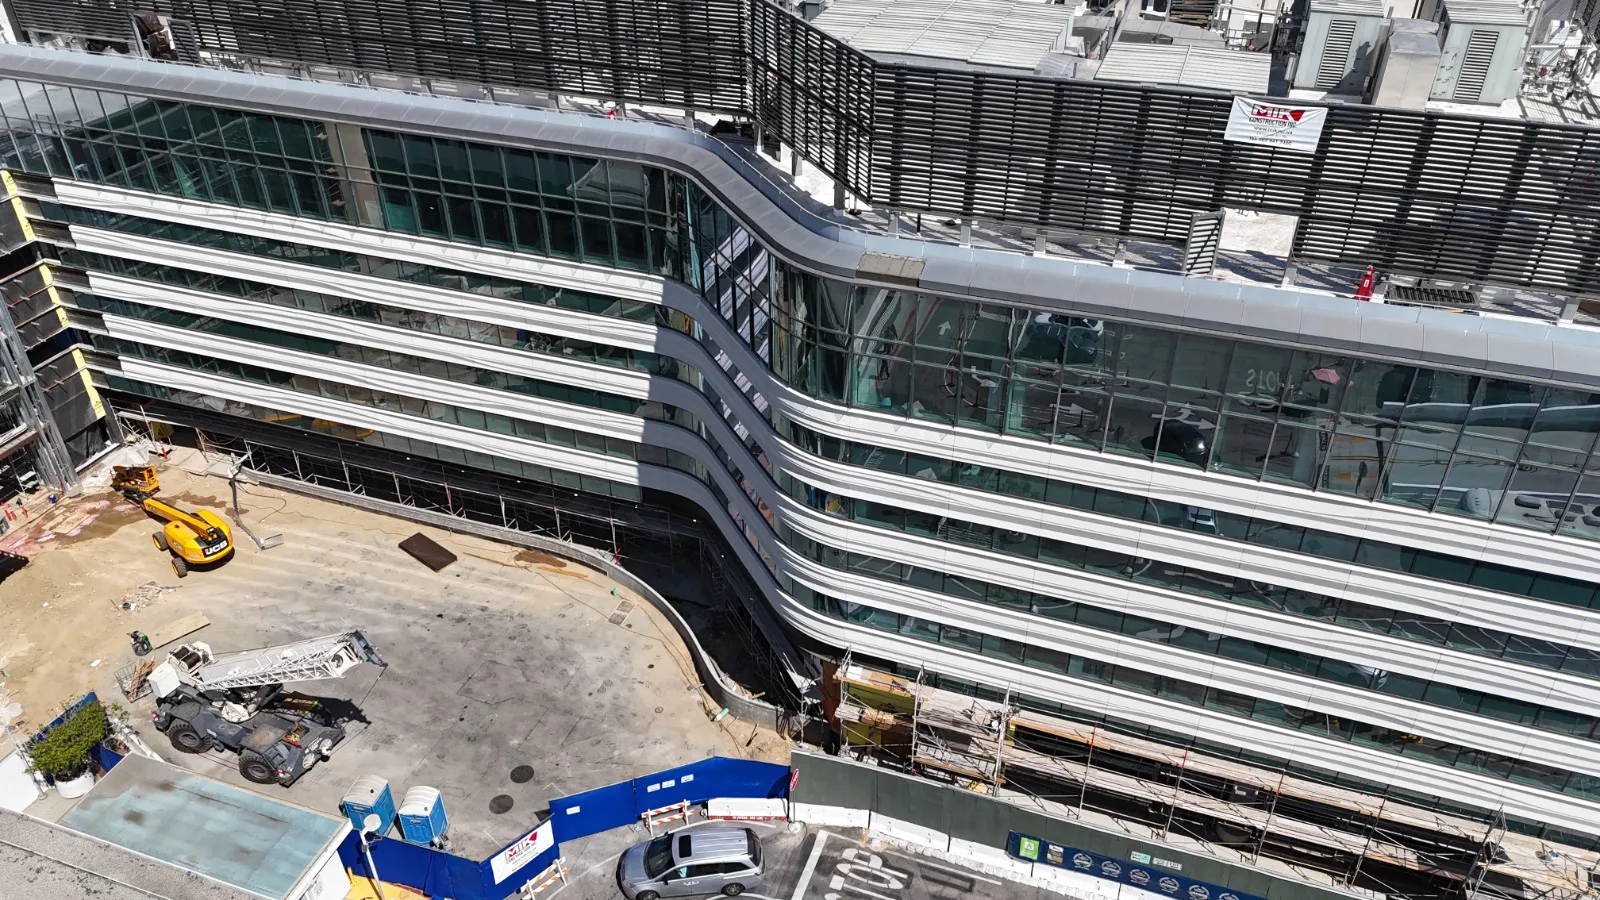
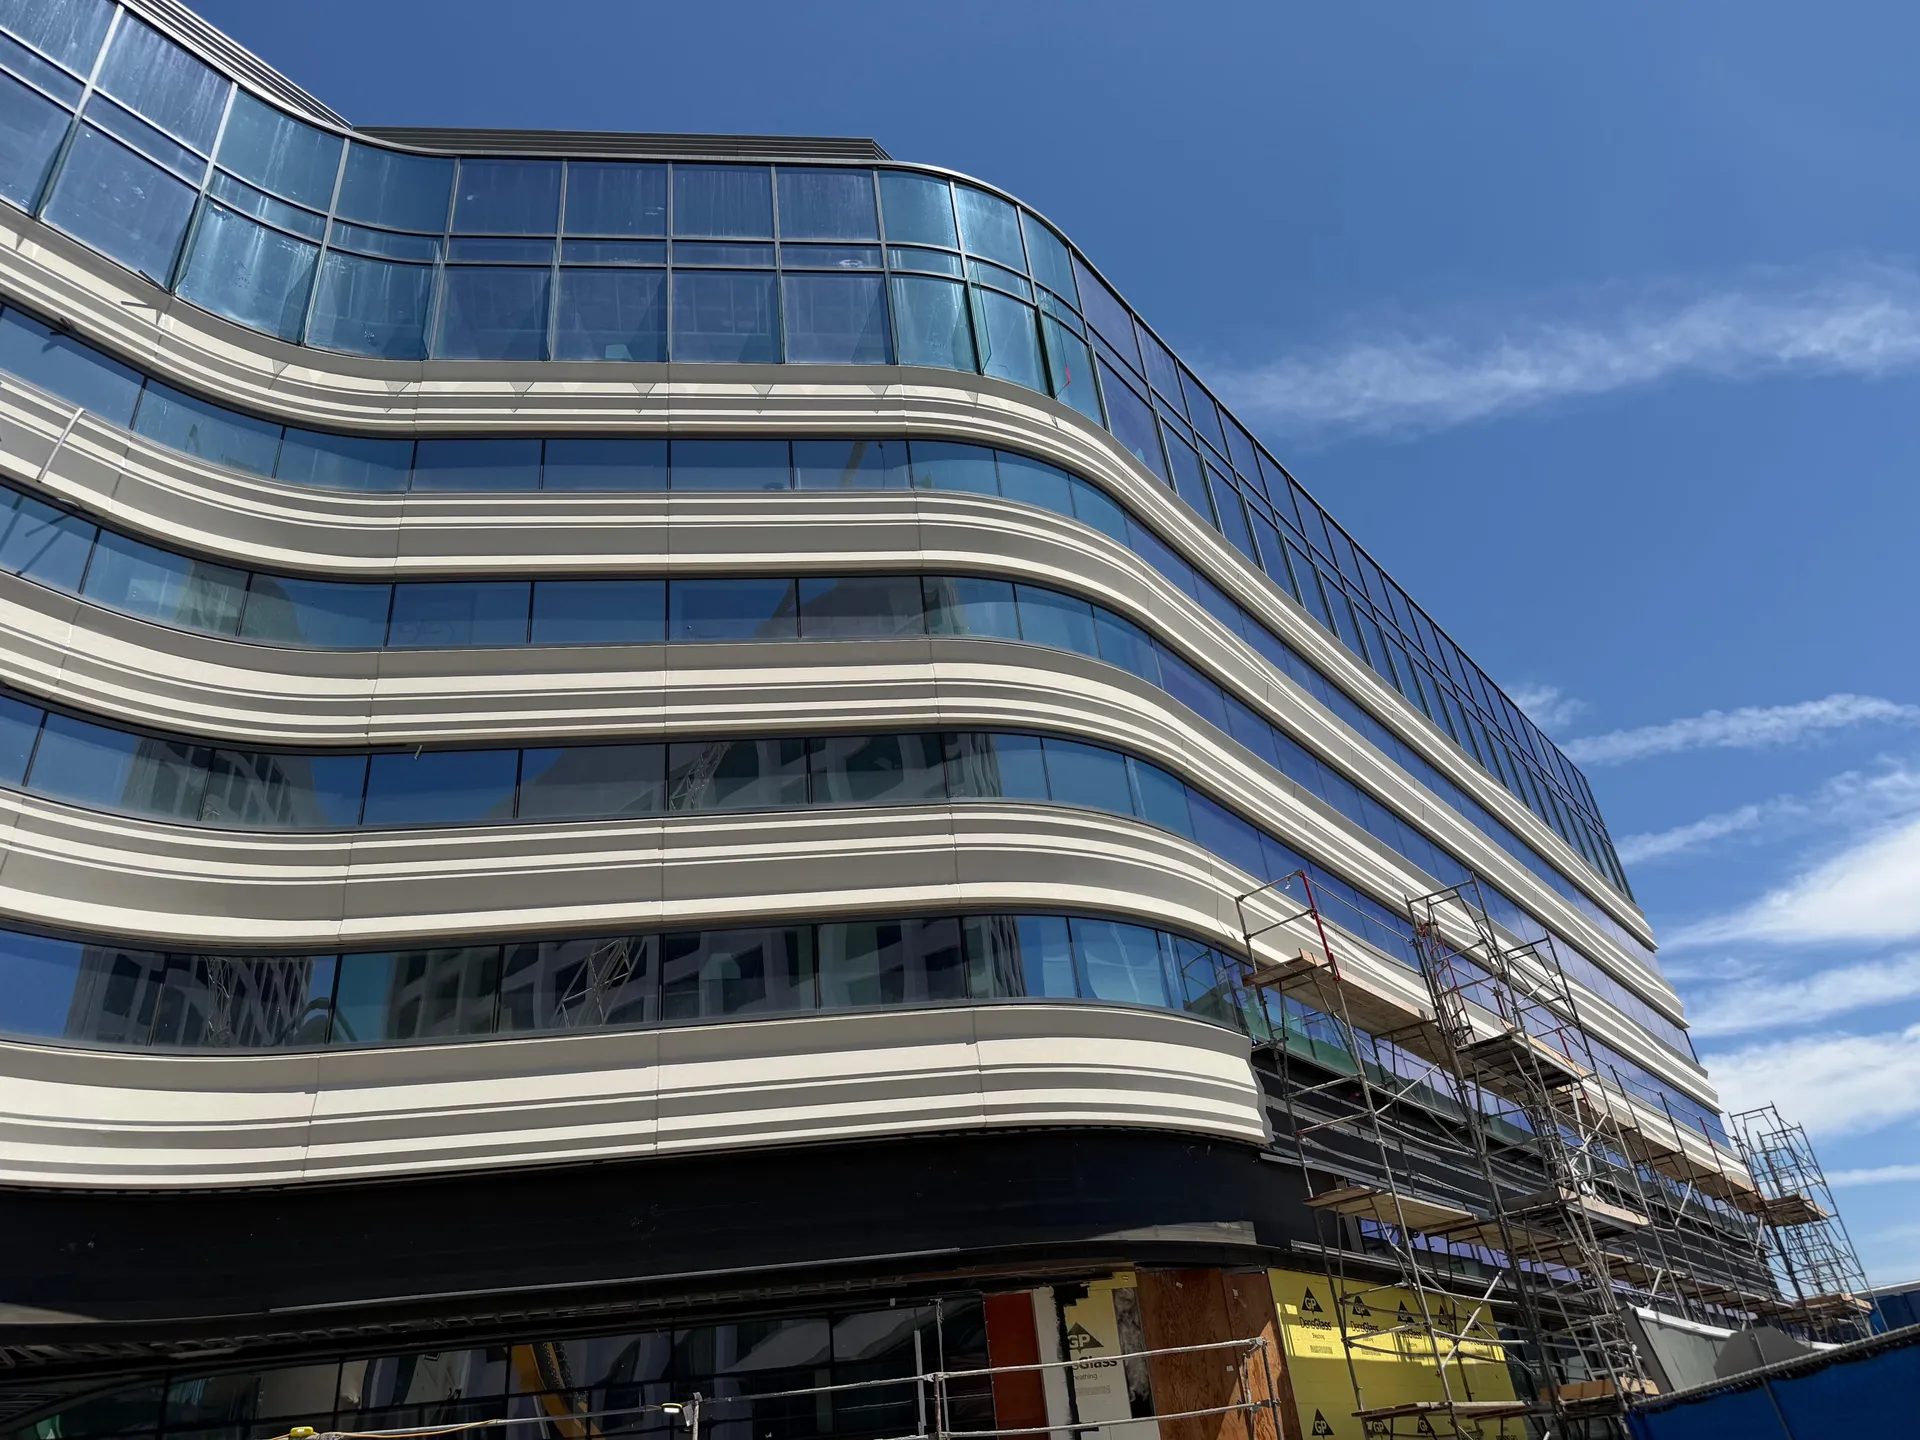
The ribbon wraps the corner
About this image
The finished ribbon facade sweeping around the curved corner of the new building, glass between each band
Prefabricated EIFS panels · Acute care hospital · Los Angeles
The project
The wandering ribbon at Hollywood Presbyterian
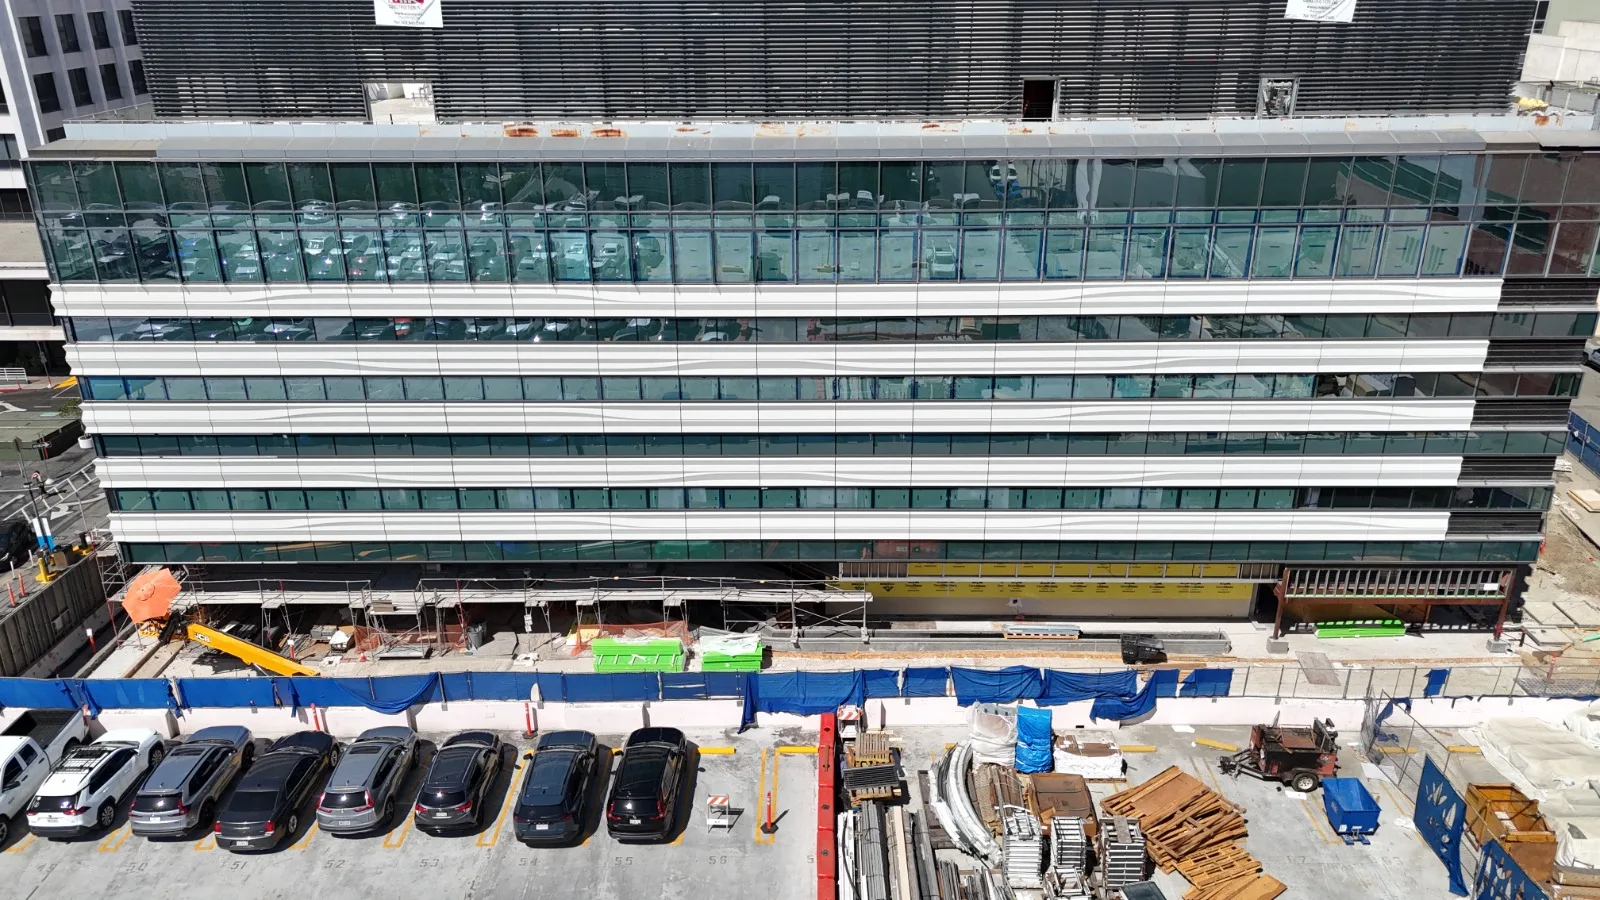
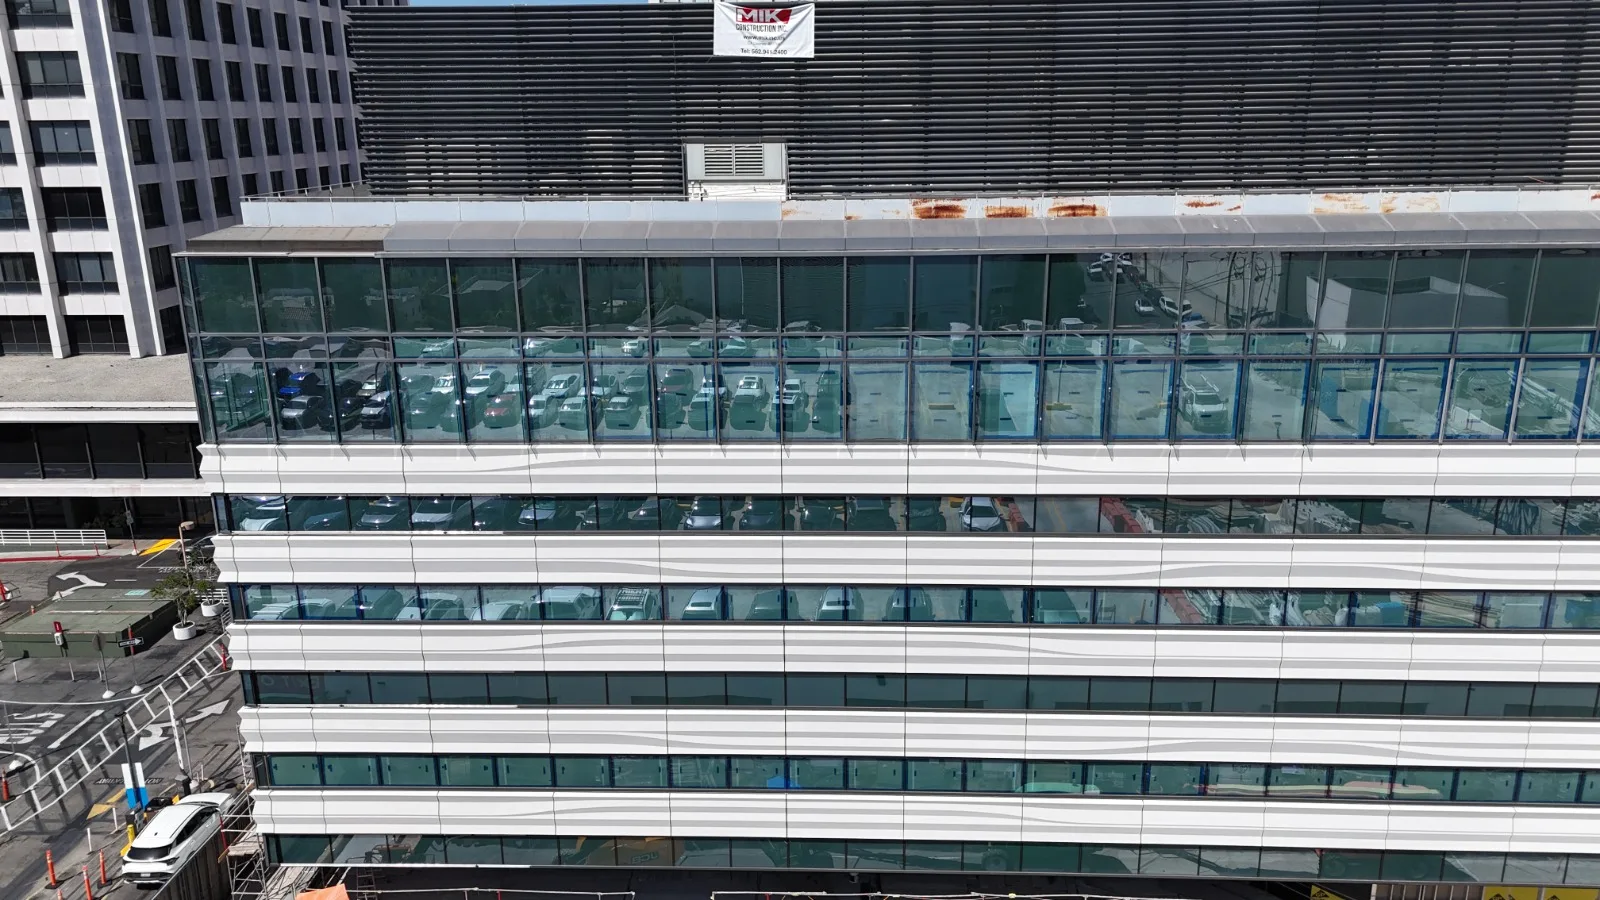
The new acute care hospital at Hollywood Presbyterian Medical Center in Los Angeles is wrapped in bands of wavy relief, known on the job as the wandering ribbon. BayStone carried those ribbon spandrels from pre-construction through fabrication and installation: 215 prefabricated EIFS panels, shaped from architectural foam in our Reno shop and hung on hat channels and clips.
- BayStone's work
- Pre-construction, panel fabrication and installation
- Panels
- 215 prefabricated EIFS spandrel panels
- System
- Dryvit Fedderlite lightweight EIFS panels
- Finish
- Dryvit Lymestone finish in Greybeard
- Attachment
- Mechanical, on hat channels and Z-clips
- Location
- Hollywood Presbyterian Medical Center, Los Angeles, CA
- Architect
- KMD Architects
- General contractor
- MIK Construction
Project gallery · 14 images
The work
Up close
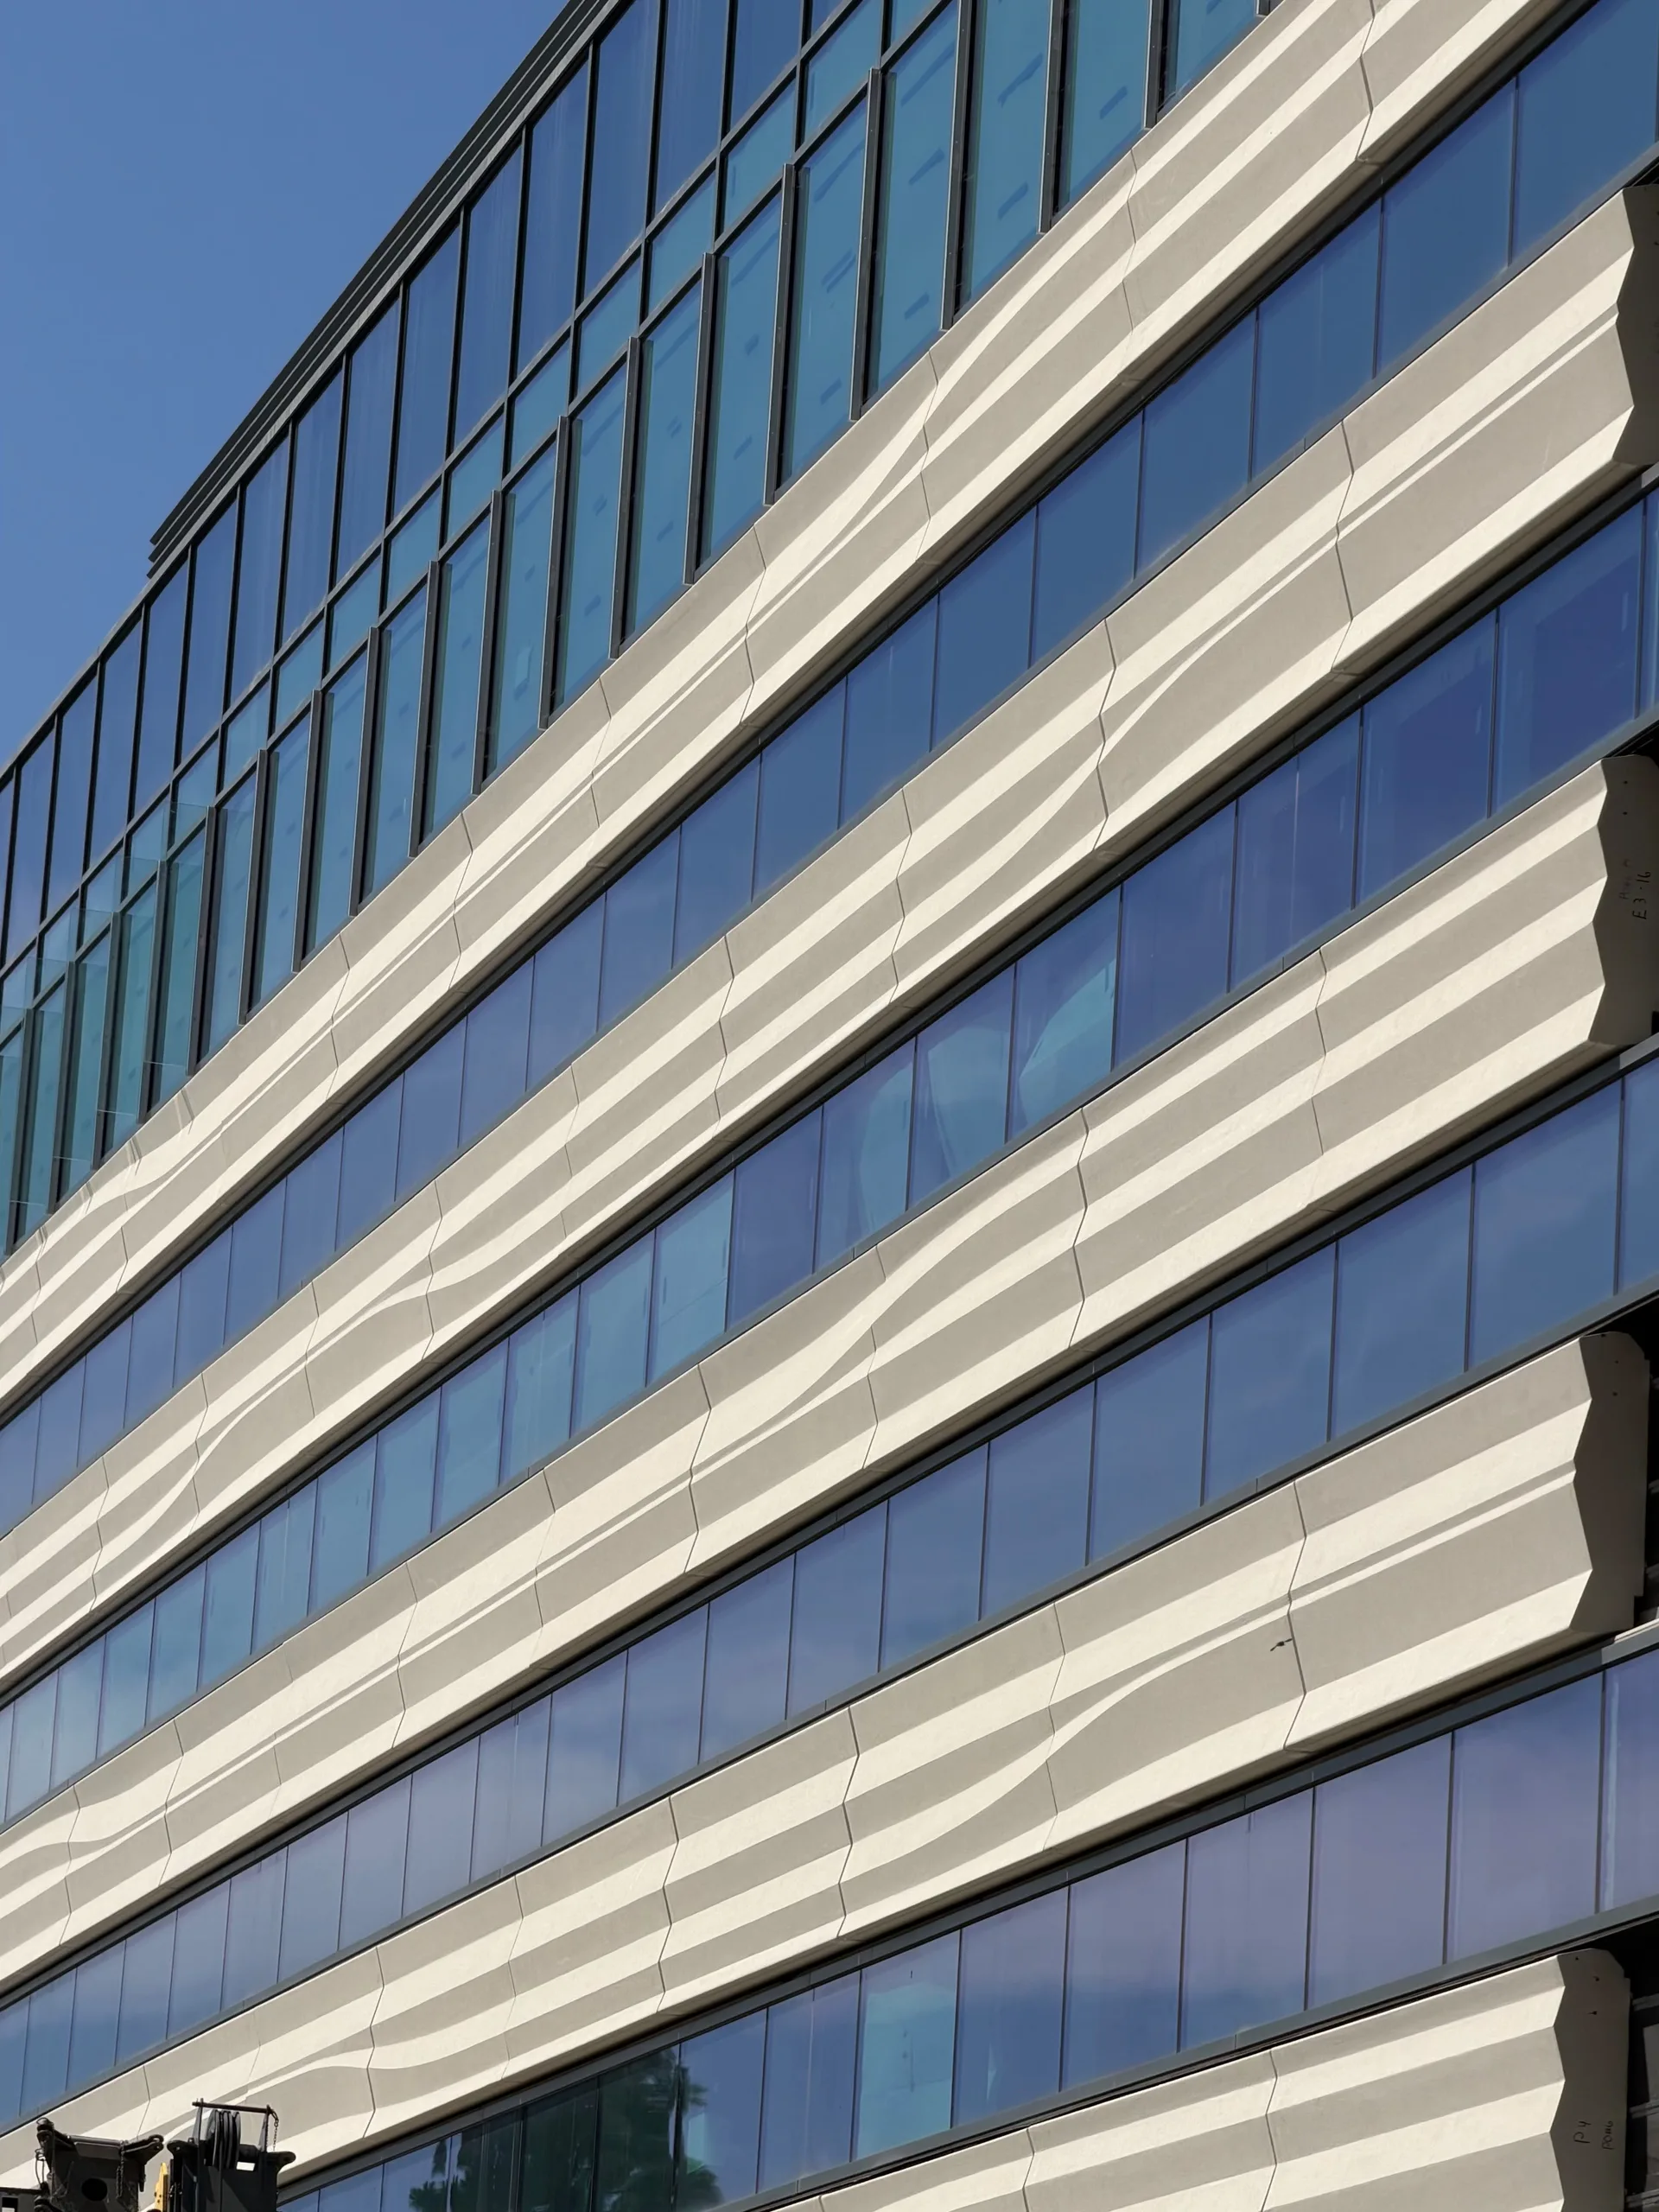
The ribbon is made up of 215 panels.
About half of them have the wavy face, and those we cut on the robot. The rest are profile cuts. Some panels curve with the building and some wrap the corners. Before we made them, we lidar scanned the building and checked it against the drawings, mainly the curves and the mullion alignment, since the panels had to fit what was actually built. Every panel is numbered to a spot on the wall.
The panels are lightweight, prefabricated EIFS on Dryvit's Fedderlite system. They were built in Reno and trucked to Los Angeles ready to hang.
Design
Shadow study
This one wasn't part of the job.
Someone on our team built the ribbon in Unreal Engine and moved the sun across it, just to see how the relief would pick up light and shadow over a day. Nobody asked for it. It was a fun exercise, and it came out well enough that we wanted to show it.
Pre-construction
Logistics and sequencing
Pre-construction on the ribbon centered on logistics and the installation sequence.
The facade was modeled in Revit. Freeform geometry like the ribbon's relief doesn't come into Revit cleanly on its own, so we brought the panel surfaces in with a tool we developed in house, keeping the BIM model true to what the shop would cut.
Logistics were coordinated with the general contractor, the structural engineer and the owner. That included road closures, placing the crane on the deck above the parking structure, and verifying the load paths beneath it.
Ahead of installation, we produced an animated sequence showing each prefabricated EIFS panel going onto the building in order. We plan every panelized job this way, using animation software we built in house, so a sequence can be mocked up and revised quickly.
Fabrication
Cut relief
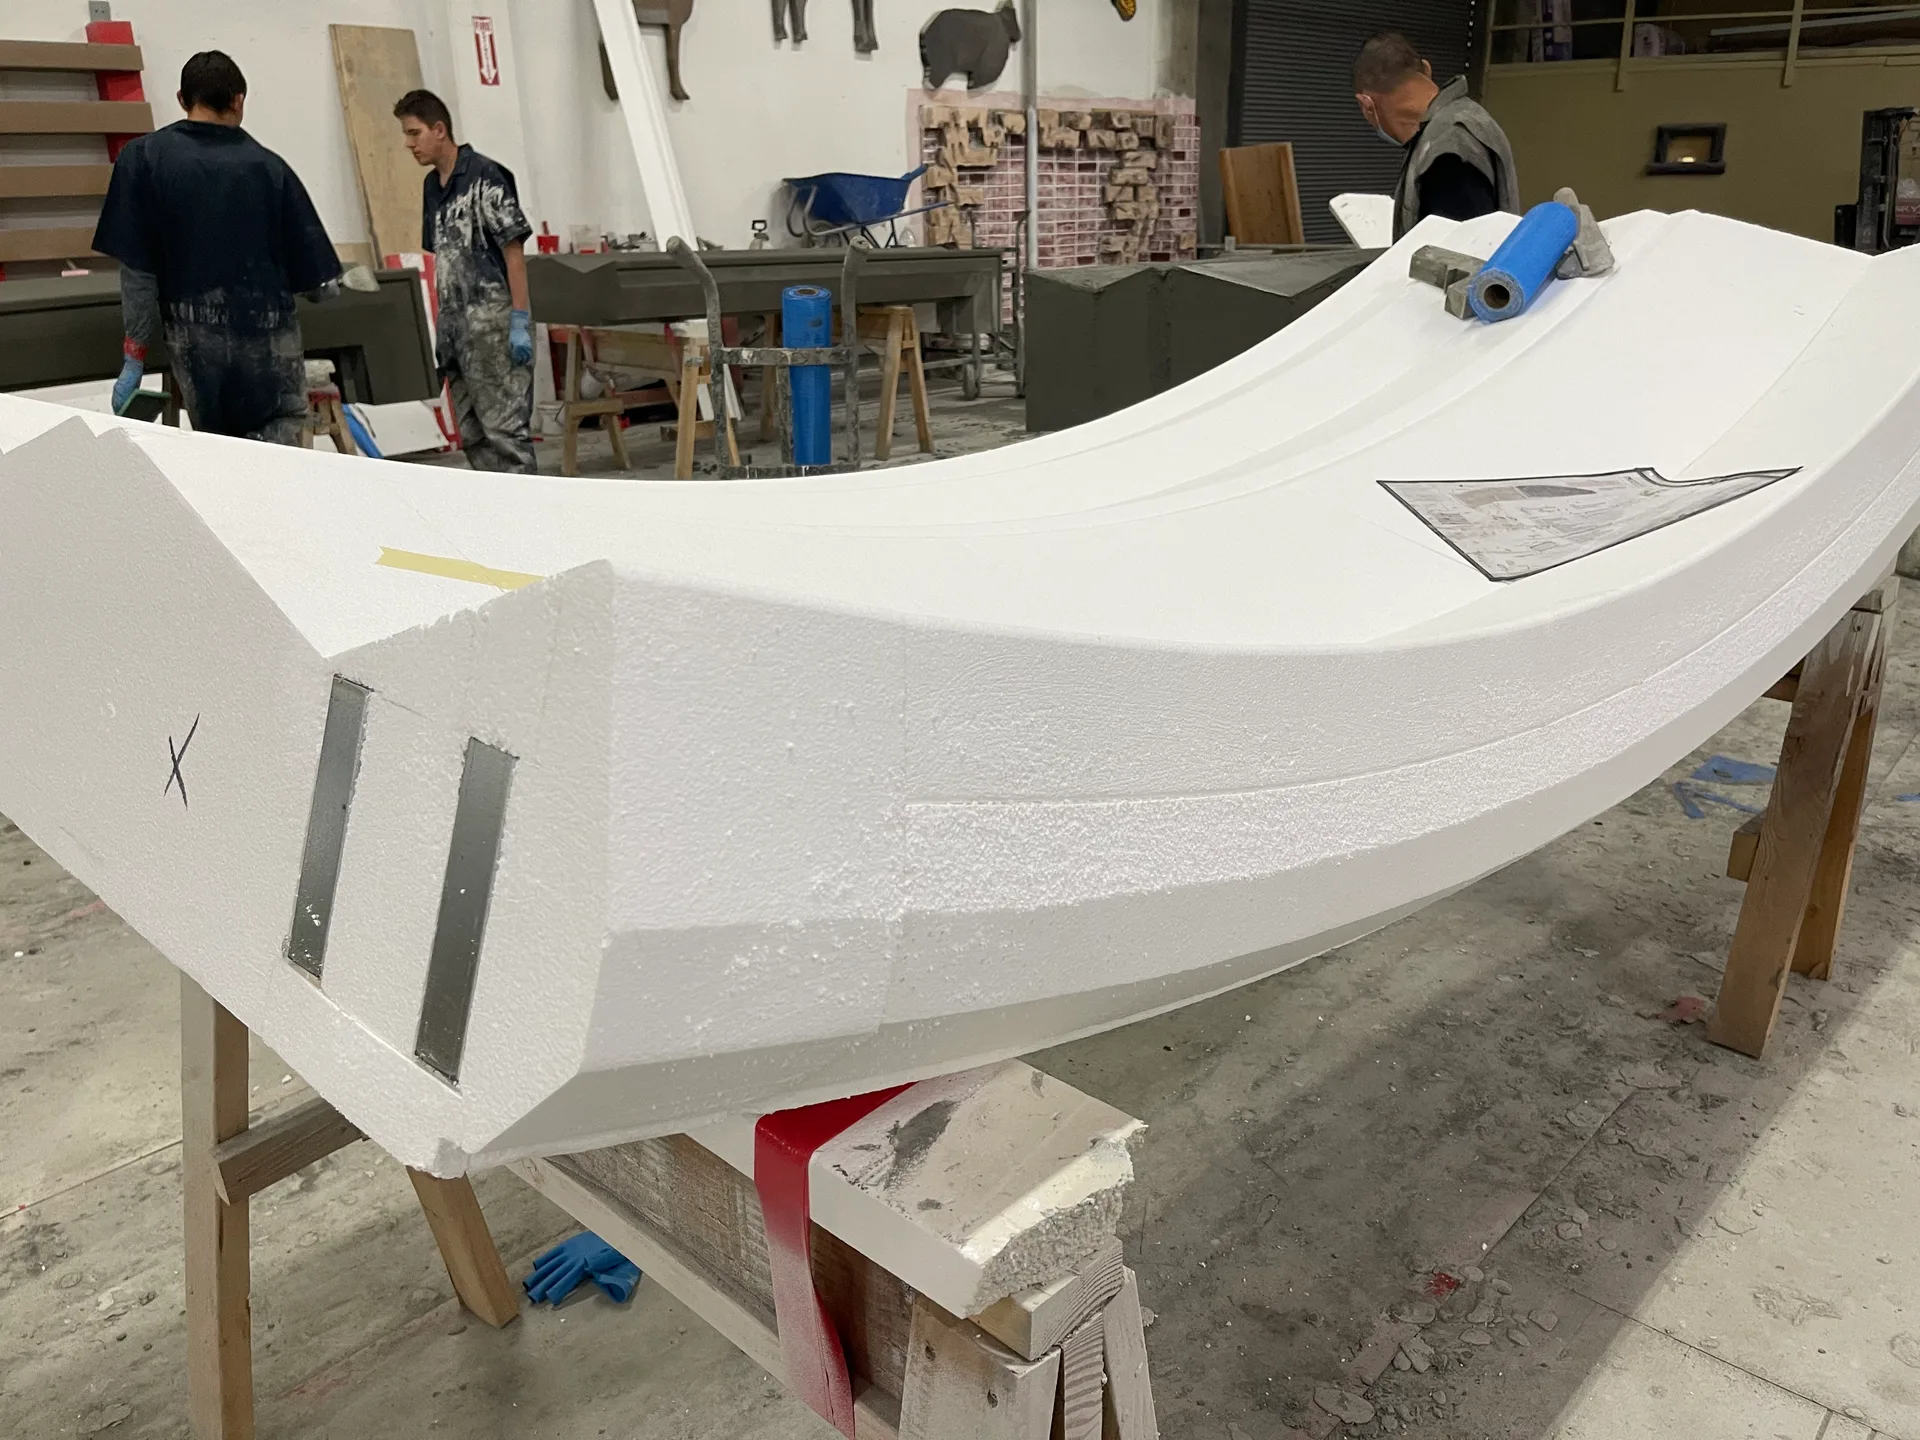
Each panel was fabricated from EPS foam in the shop, starting with a profile cut.
The wavy face is what made this job complex. On 105 of the panels, the relief was modeled in Rhino as a separate slice and cut on our 7-axis KUKA robot, which can follow a surface that changes along the full length of a panel. Each slice was then fitted to the profiled foam beneath it.
Robotic cutting also kept the repeated panels consistent. One panel type appears six times on the south elevation, and every copy had to line up with the panels around it. Cutting each one from the same model made that repeatable in a way hand carving would not.
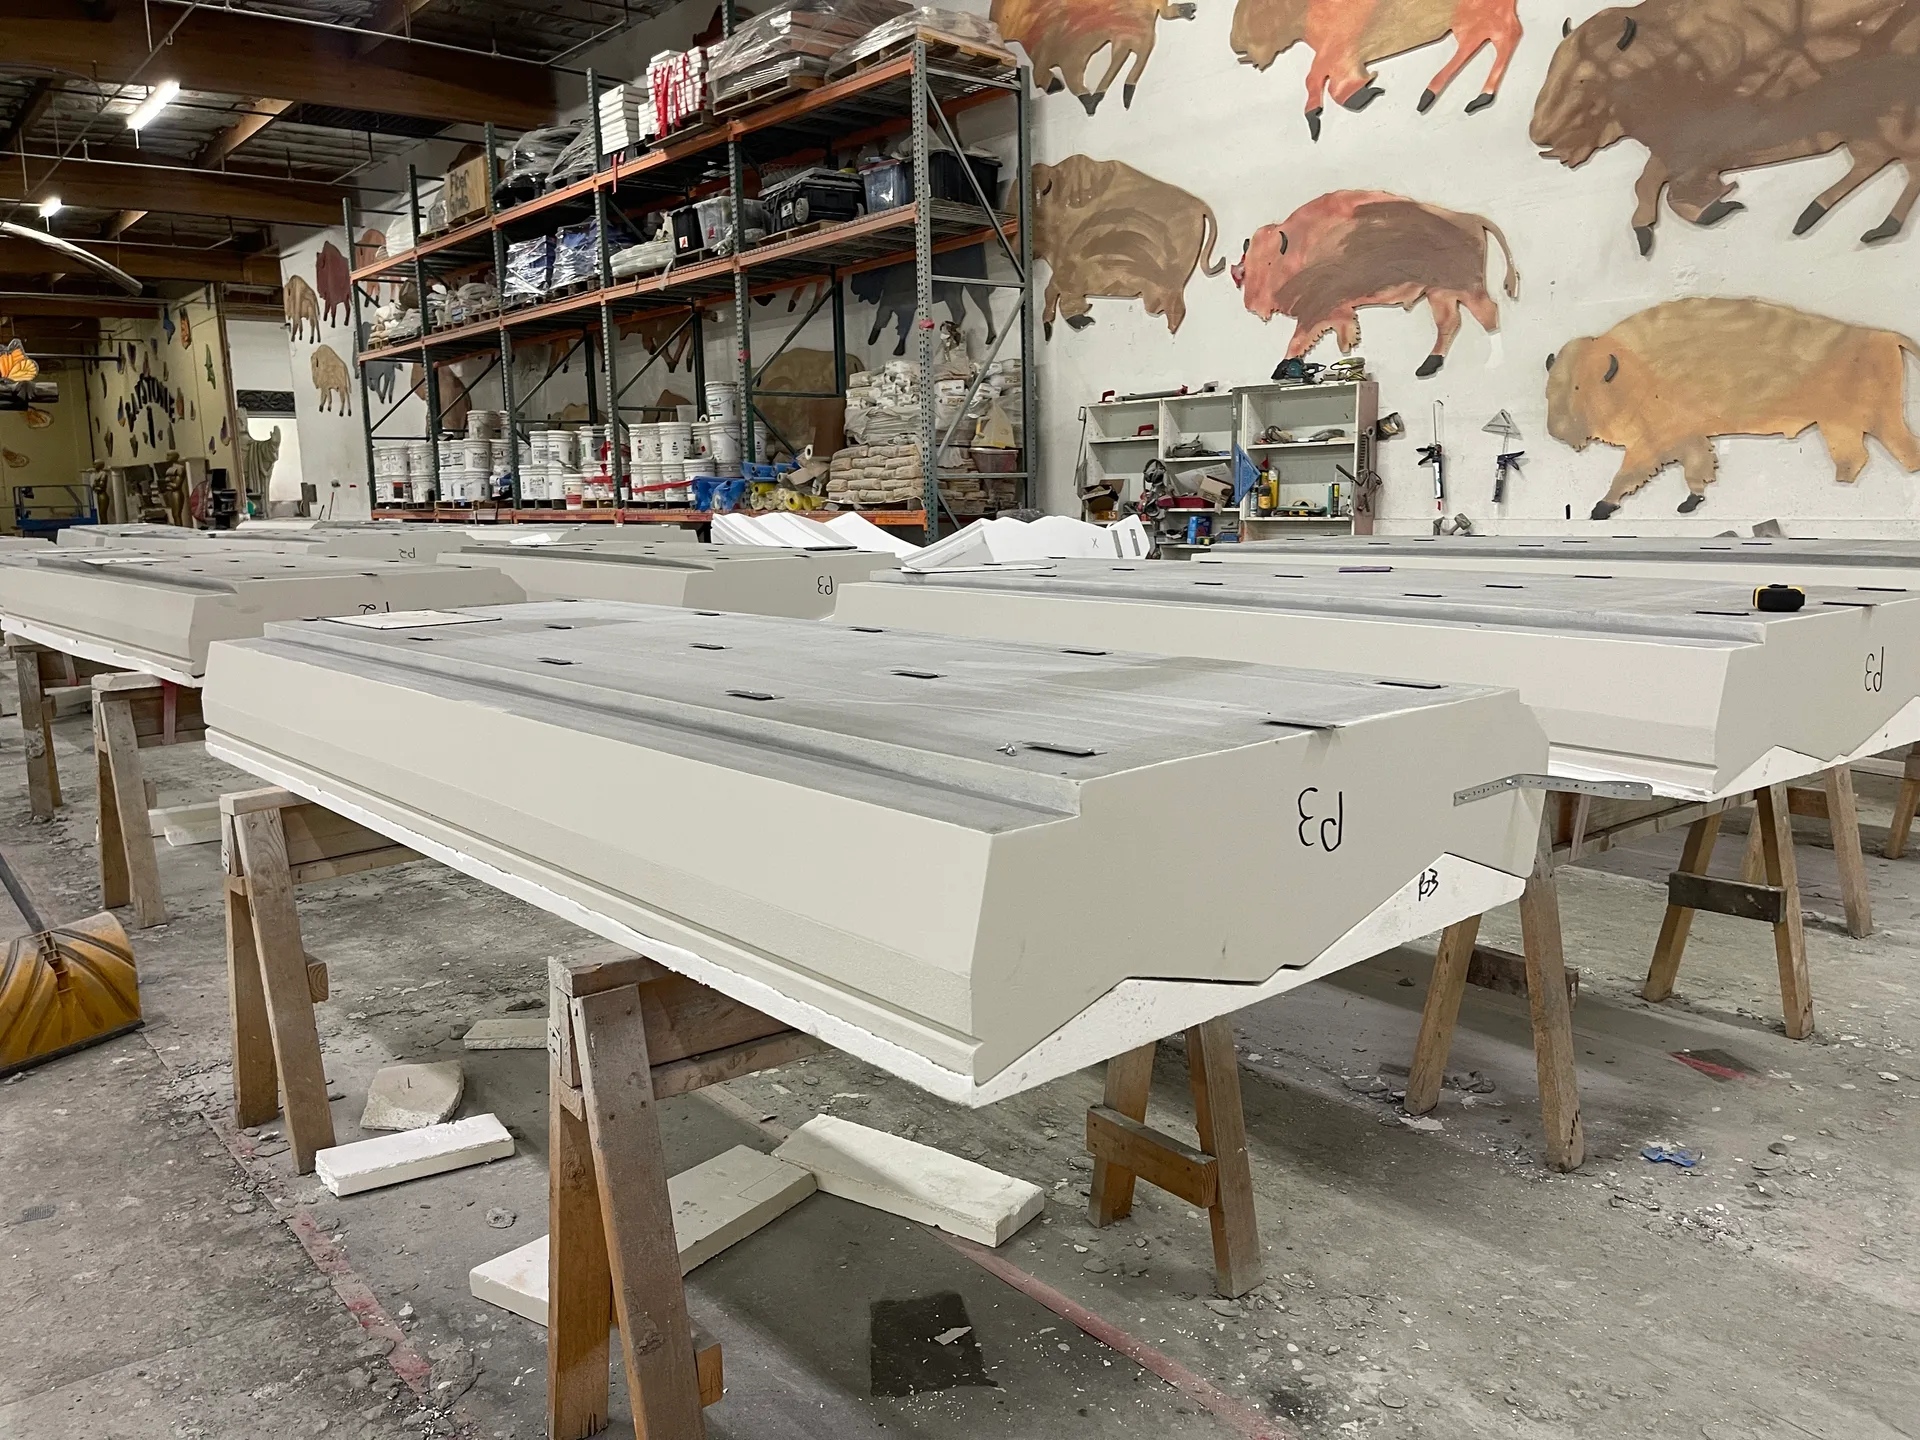
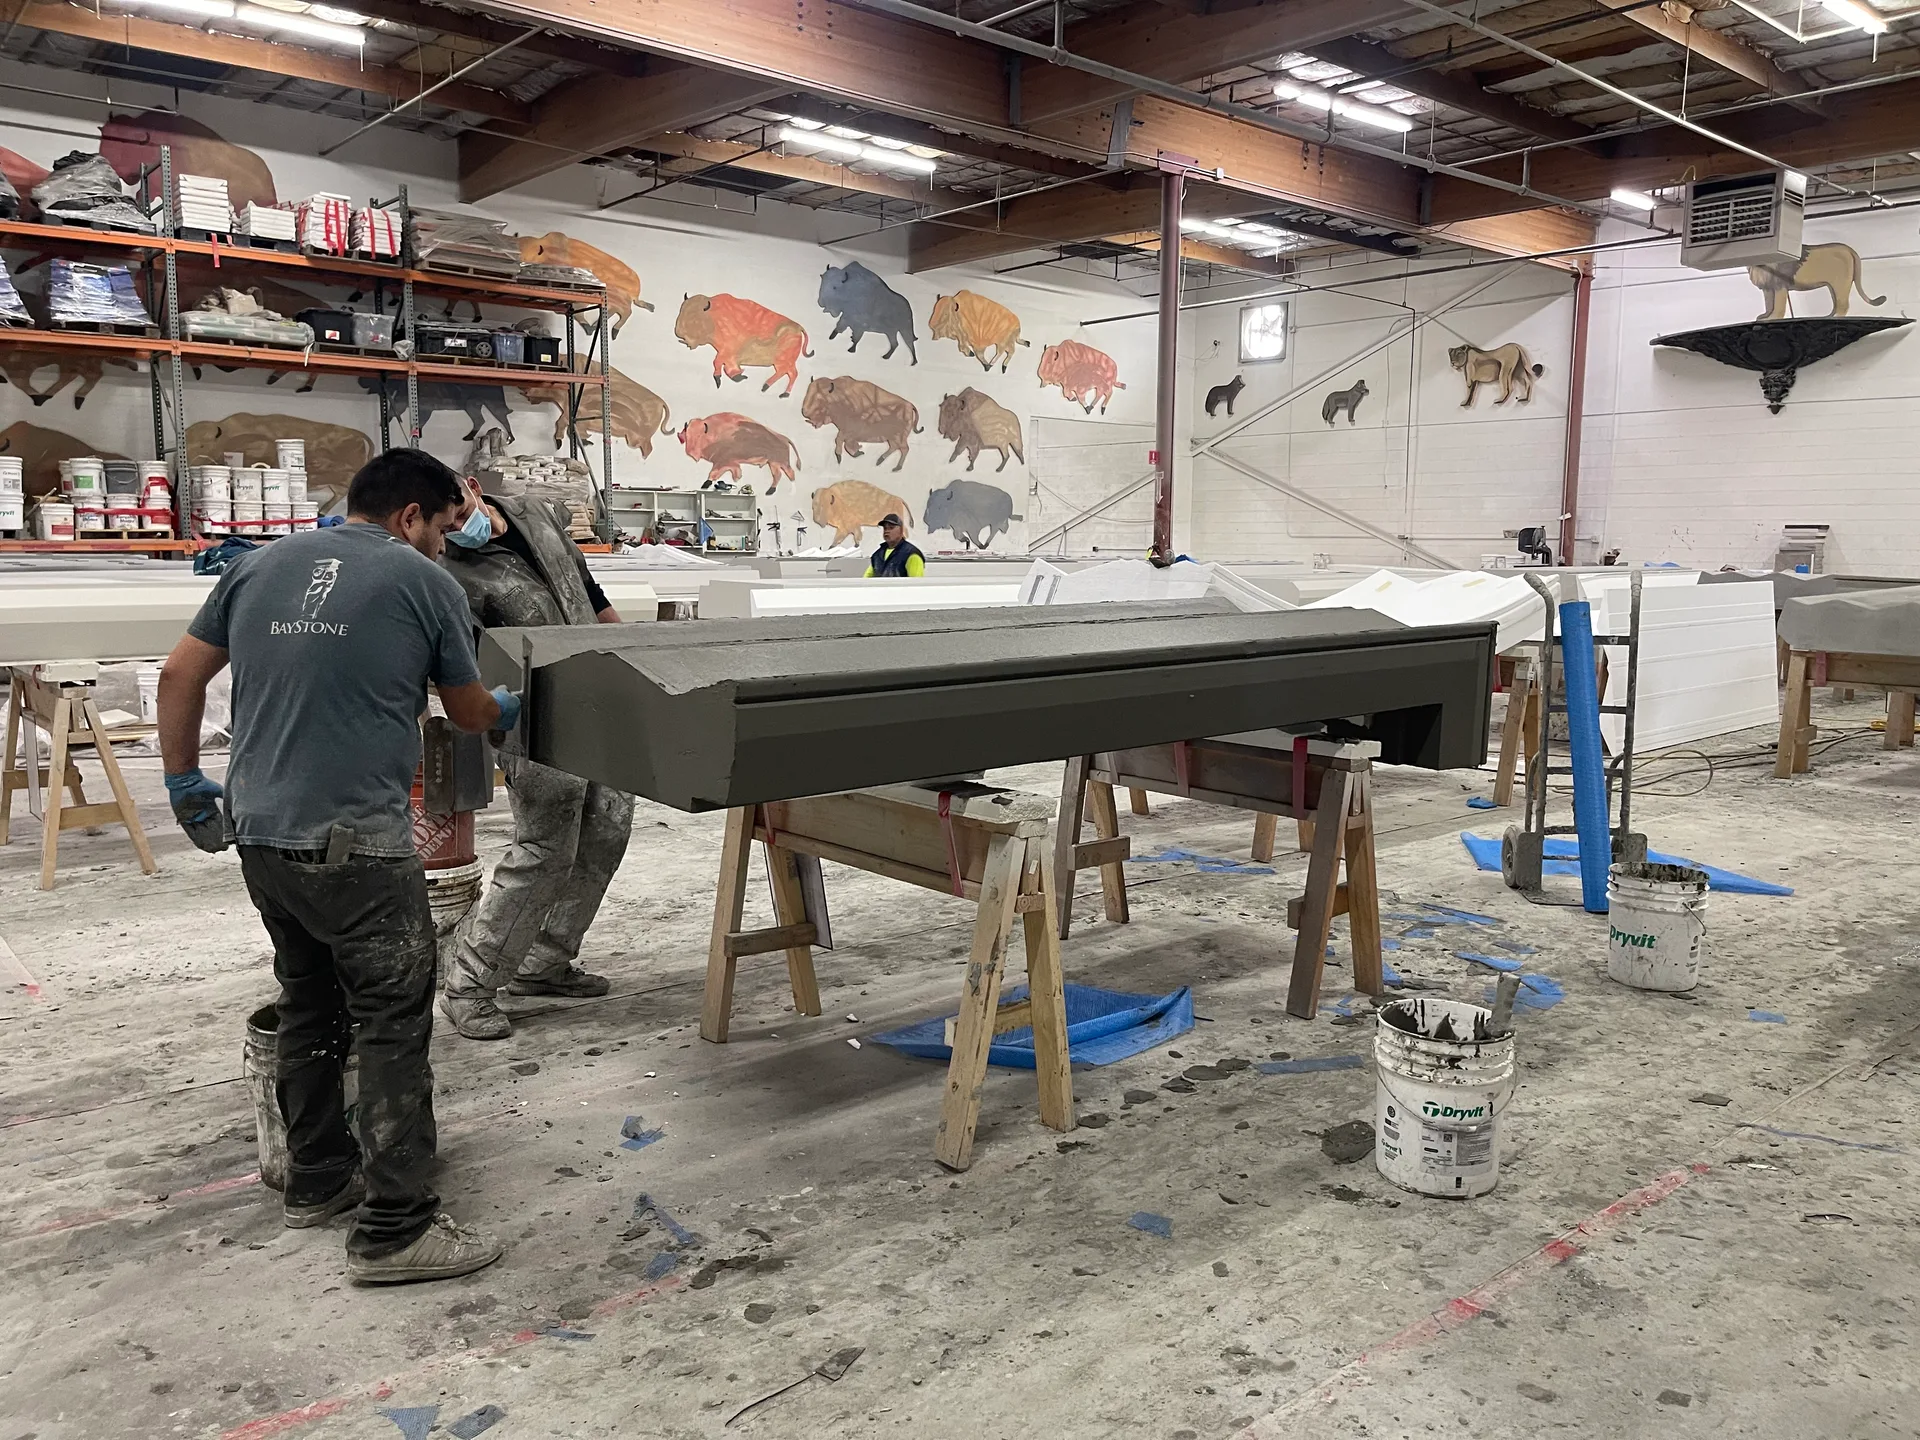
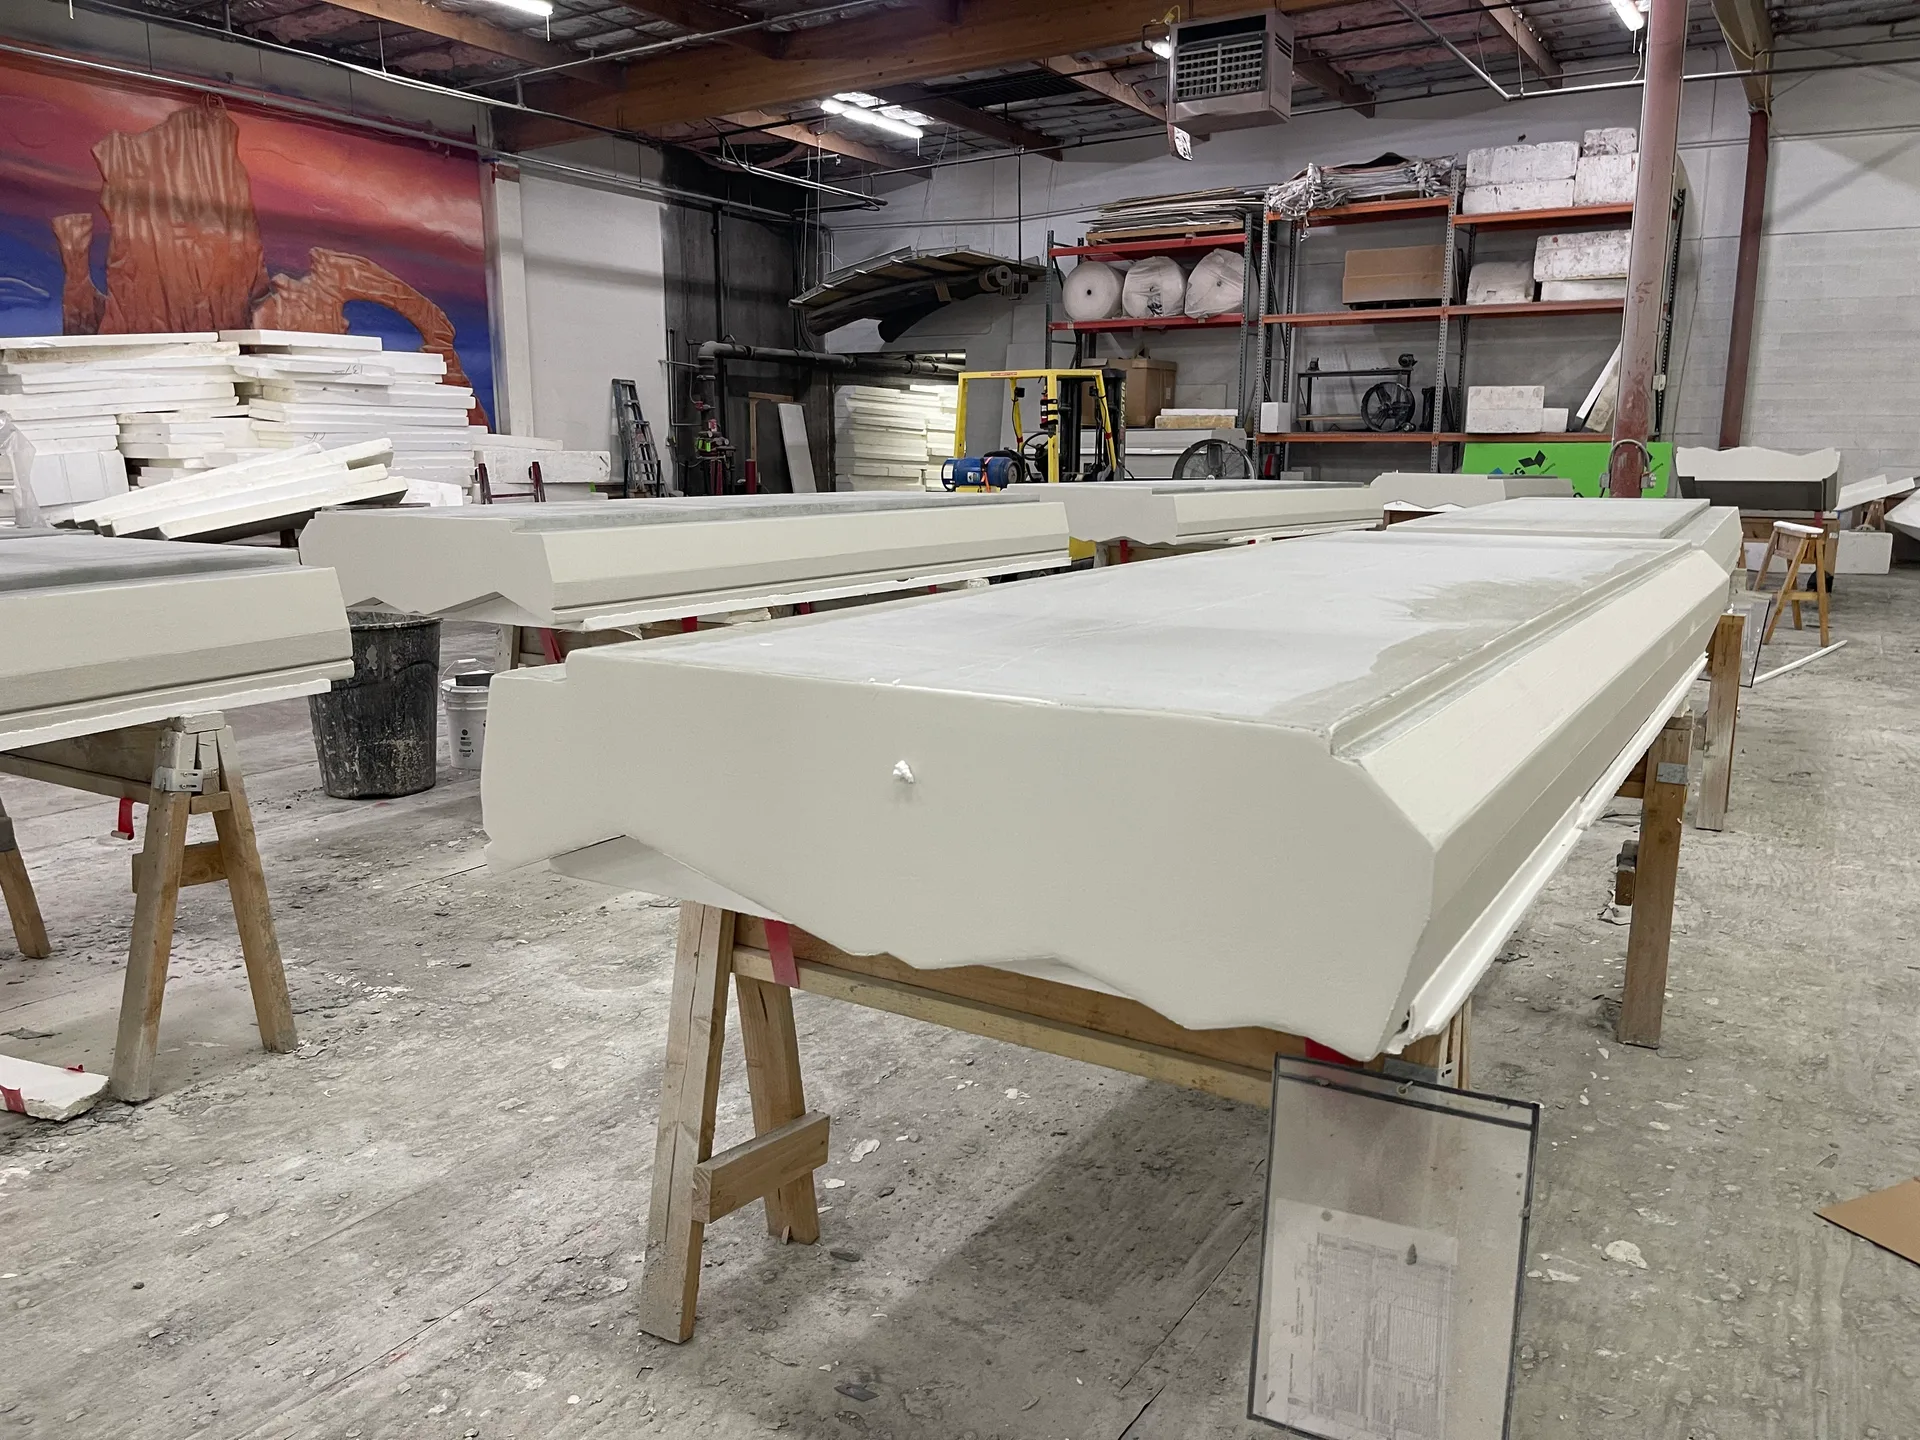
The finish work was done by hand in the shop, with Dryvit mesh, Genesis DM basecoat and Lymestone finish. Each panel was checked against its shop ticket and crated in installation order.
Products
What's inside

The materials and parts in each ribbon panel:
- Type I EPS foam, profile cut and cut on a 7-axis KUKA robot
- Dryvit Fedderlite lightweight panel system
- Dryvit standard mesh, with Panzer mesh where impact is likely
- Dryvit Genesis DM basecoat
- Dryvit Color Prime
- Dryvit Lymestone finish in Greybeard
- Fedderlite hat channels cast into the panel backs
- Z-clips mating to clips on the wall
- Straight, radius and corner panels with returns
Installation
Channels and clips

The panels carry hat channels in their backs, and Z-clips on those channels hook onto clips on the wall. No adhesive.
The largest panels, with their inside and outside corners, went up first. Where the wall behind the radius and corners turned out different from the drawings, we re-planned the trucking and the sequence and still kept the schedule. The architect told us the facade couldn't have turned out better.
Hollywood Presbyterian Medical Center · photographs
Project gallery